field notes #2
the spring edition
Welcome to Field Notes, a semi-monthly series where I share some updates on what’s going on at Home Farm1. In this Spring edition, I’ll be talking about:
how much spring has truly sprung (and how to use a soil block)
my mom continues to buy me farm tools off of Temu
the trouble with water
Plant Science class
a shameless montage of plants, all of whom are queer af
I’ve also made this issue into a zine! I’ve been inspired by all the conversation around zines on Substack, plus
’s Ephemeral Archive series has me thinking about the form and how we need more farm zines in this world.See the full zine here.
tbh spring is too much and I love it
North Carolina has nestled comfortably into Spring since the great pollening of 2025, which started in late March and lasted what seemed like forever. It was a record year; I would drive over Jordan Lake and see the pollen collecting along the lake shore, at places an inches-deep cake of yellow.
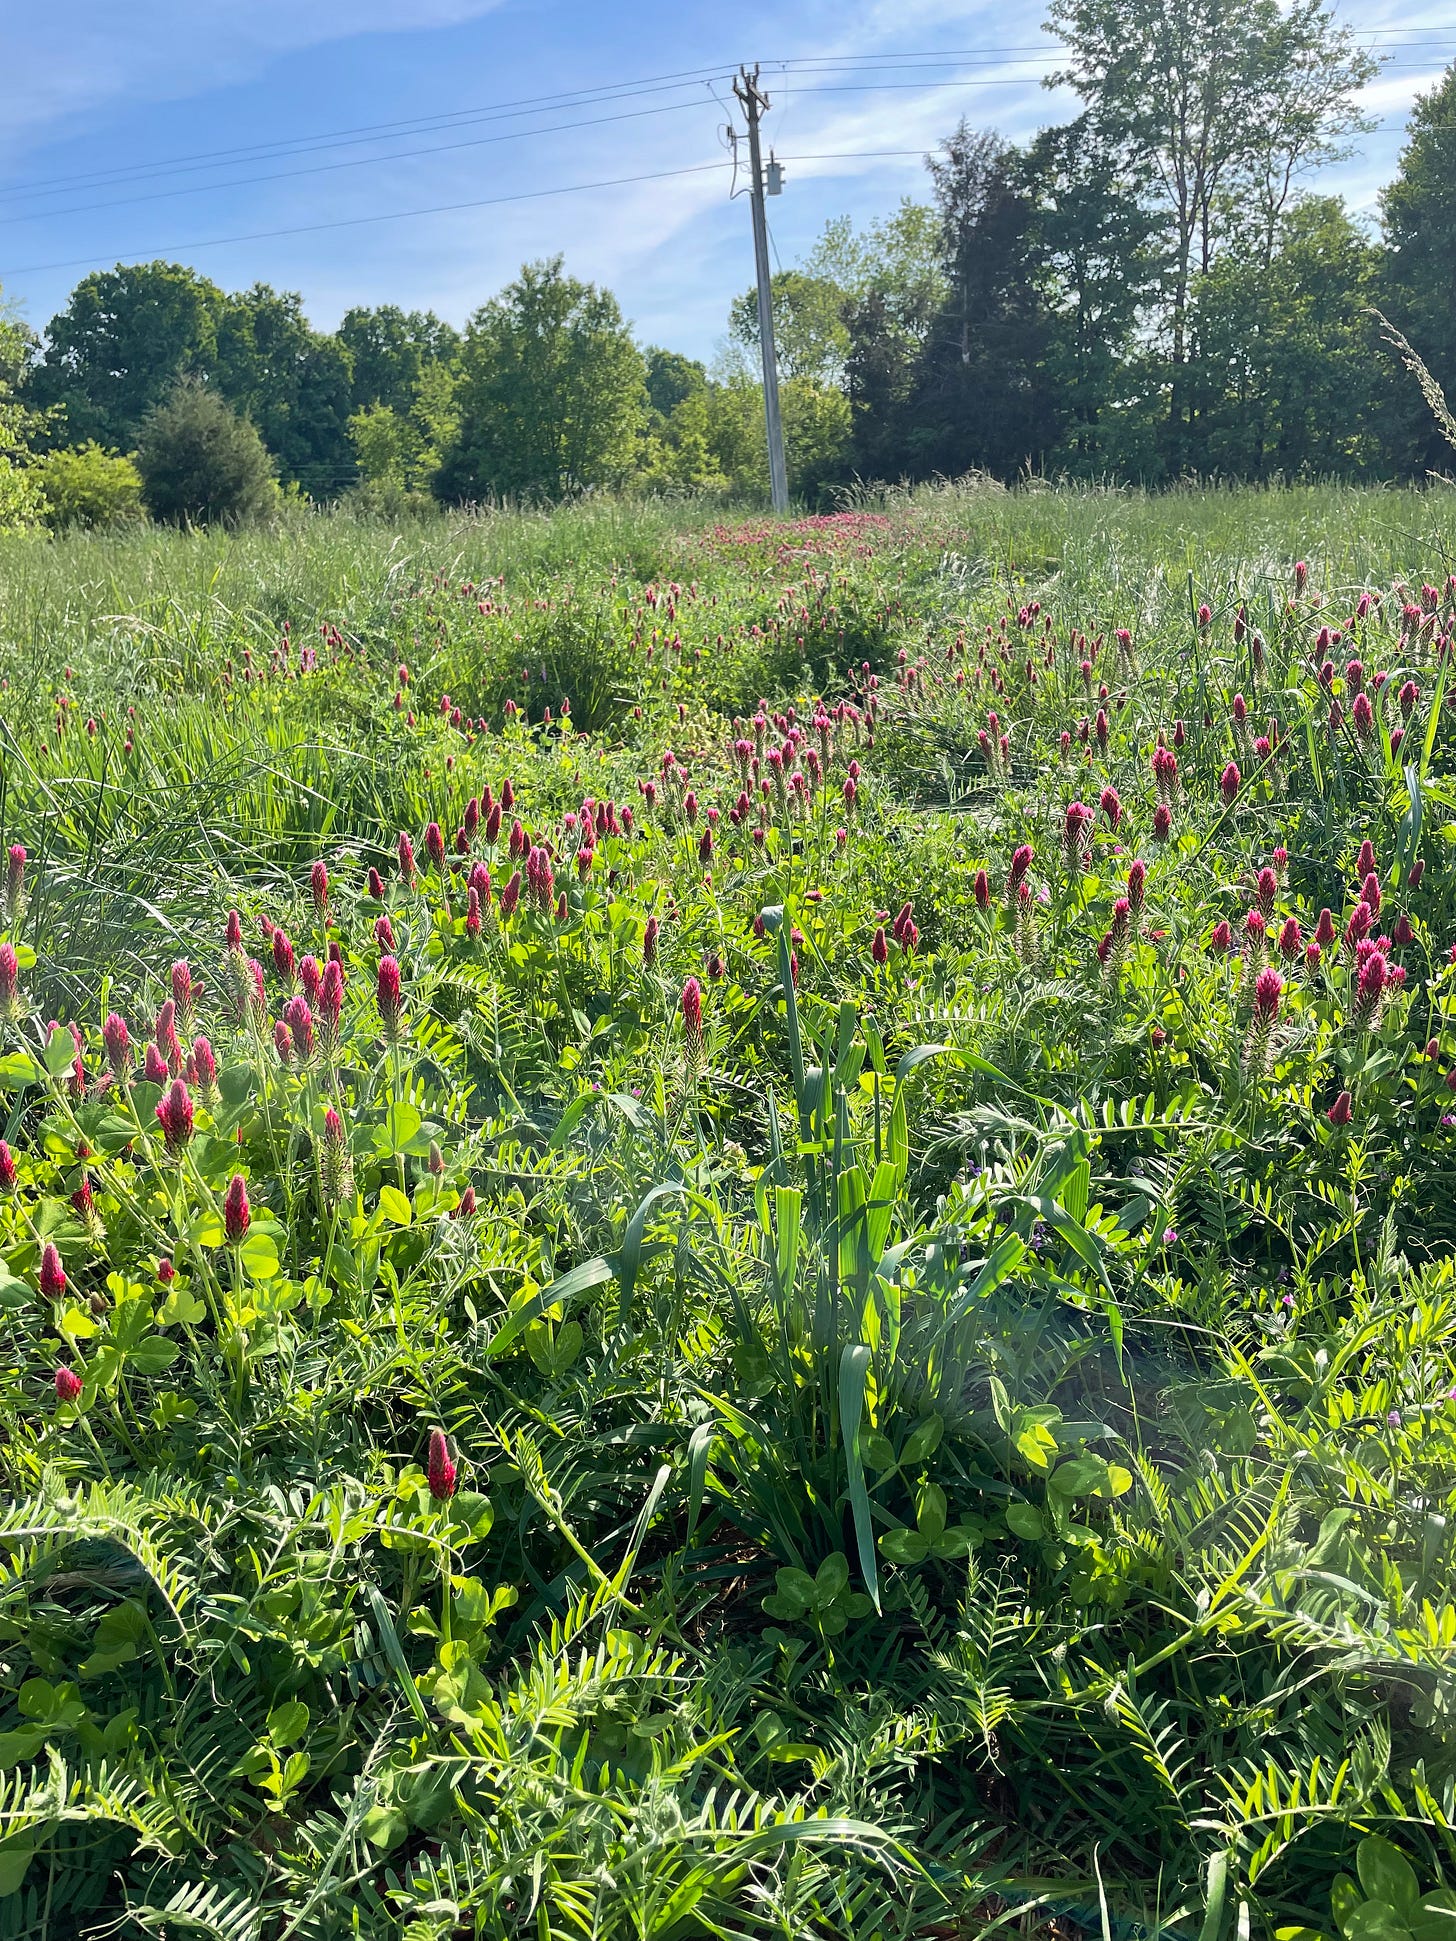
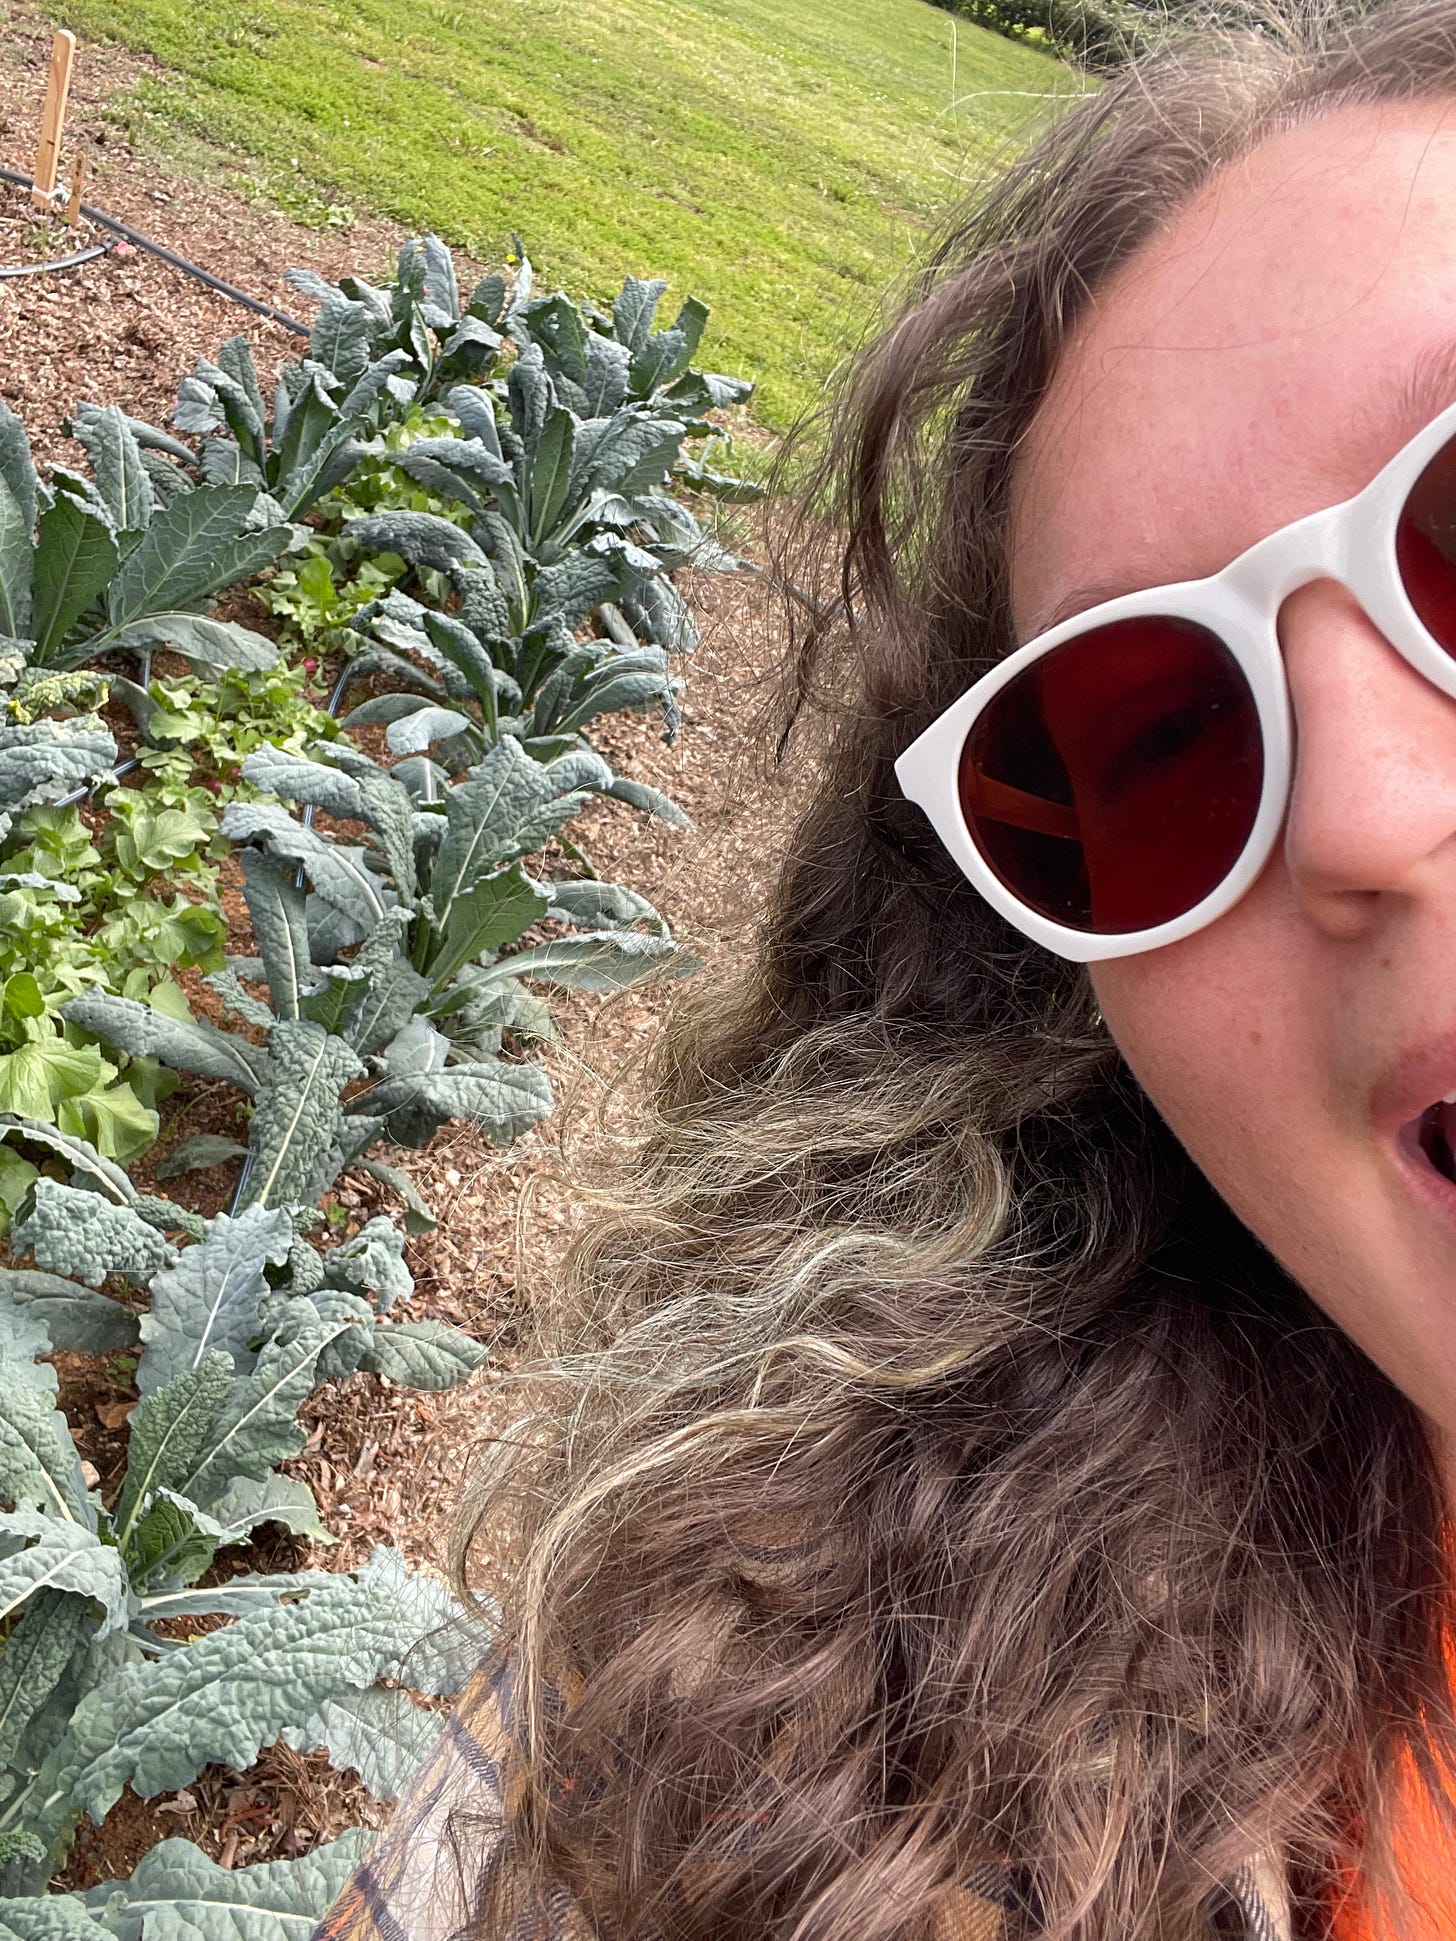
Things have started happening so fast. That is what spring is, after all, a happening. It happens quickly and it happens in great amounts. The grass stands up and suddenly meets me at my hip. The wind breaks the still air and flips over the rain barrels. The bare ground where they buried the electrical lines, where I planted a cover of clover and vetch, where I took my back to the cracked clay, where I prayed the bermuda grass wouldn’t colonize, it now bursts up with flowers and bees.
It’s what I have always loved about spring, its muchness, even its too-muchness. The pollen that drives people inside is telling us that this time is not for us but for plants and other living things.
I started seeding some things earlier in the season, as I talked about in field notes #1, but the height of the growing season really starts now, with every week seeding at least 3 different crops to keep up with turnover in the garden. Succession planting is really important when you’re growing a high volume of plants. The idea is that when things are harvested, you quickly replace their spot in the garden with a new transplant that’s ready to start producing, all so you aren’t experiencing a lull in production. This means that while you’re taking care of things in the ground, you’re also taking care of things in trays, pots, or in my case, soil blocks.
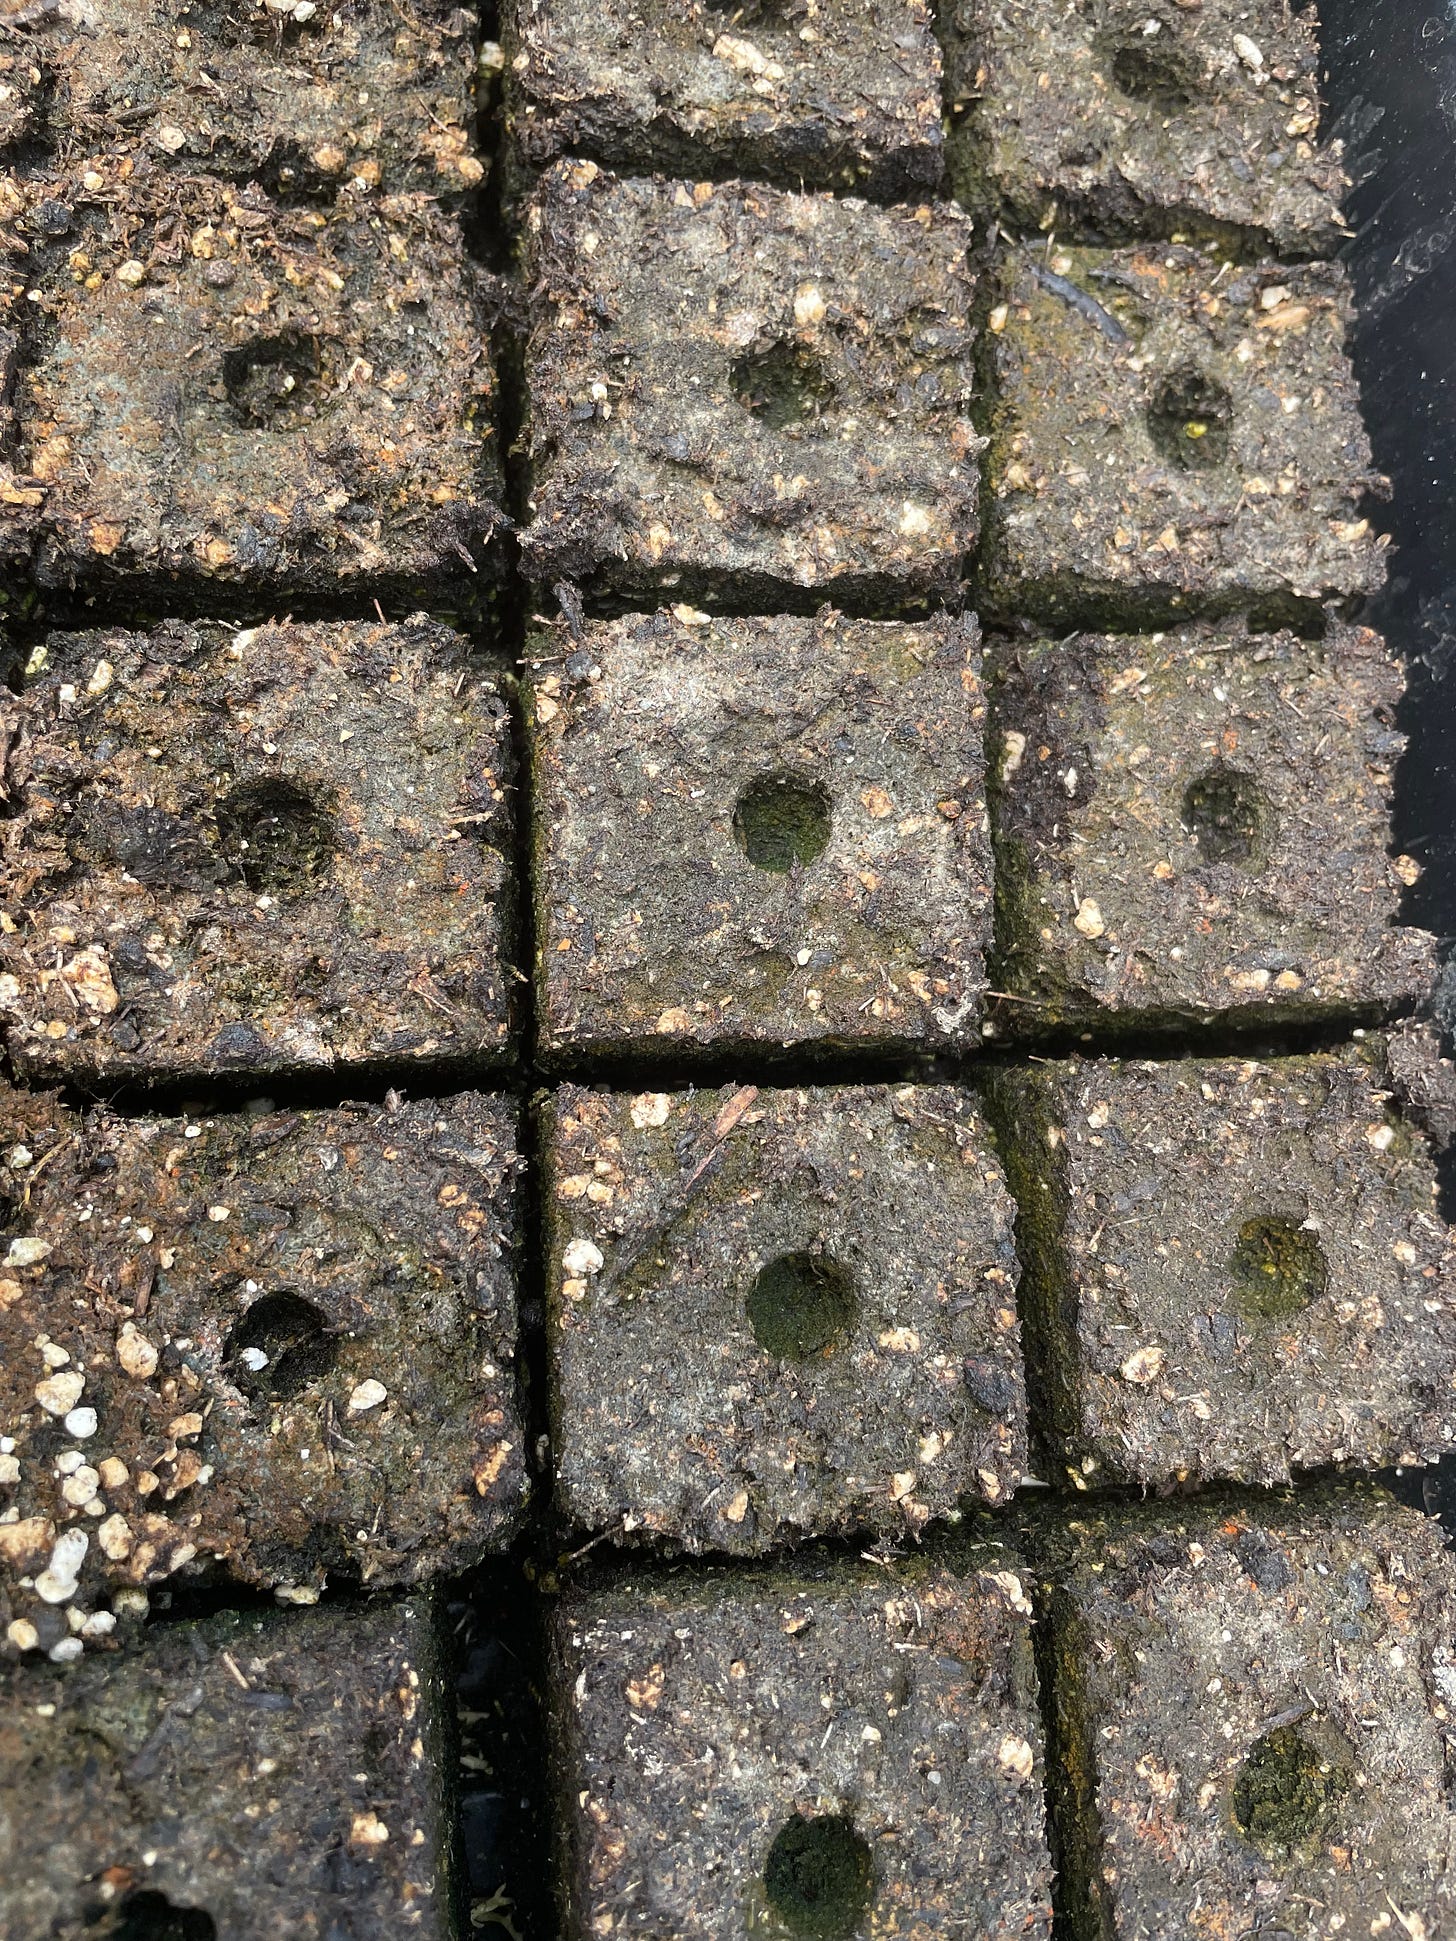
My partner introduced me to soil blocks years ago when he was working an organic farm in Alabama. They’re these nifty little contraptions that squeeze soil mix into a nice little cube for you to plant your seeds into. Many soil blockers have these things on the inside that will create divots in the top of the block so you can easily plant your seed.
What makes them super cool is that the structure of the block makes it almost impossible for your plants to get root bound or experience root rot. The roots will start growing into the outer edges of the block, and once they hit air, they atrophy and fall off. The plant never gets bigger than it can handle, though of course you want to get them in the ground as soon as they’re big enough to support themselves, just so they get all the good benefits of the soil microbiome.
The shorter version of this how-to is in the zine, so if you just want the basics without my editorializing, head over there :).
Here’s what you need:
A soil blocker to fit your needs. I like Johnny’s 4-cell blocker, it’s good quality and does just enough to make my work efficient.
Plant trays. Johnny’s sells these, but your local farm and seed store is likely to have them for cheap.
A good seed starting mix. I use Coast of Maine but it can get pricey. Don’t get too caught up in the different kinds of seed starting mix that’s out there, just choose one that doesn’t have synthetic fertilizers and is within your price range. Depending on how much you’re planting, a 16-quart bag will get you at least 5 trays of seeds. If y’all want to hear about my homemade seed starting mix, let me know, and I’ll include it in the next field notes!
A shallow tub, a good size would be 18”x24”.
A source of water.
What you do:
Put your soil mix in your tub, fill it about halfway.
Wet your mix. Most soil mixes have lots of peat or coco coir in them, so you’ll need a lot of water and mixing to get the mix to absorb the water. You might see pooling in the tub - keep mixing, it’ll eventually get incorporated. You want to get your mix to roughly the texture of wet oatmeal. When you squeeze a handful of it, it should release some water but mostly stick together. When you start using the soil block, you’ll quickly realize if you’ve put too much or too little water in your mix, because the soil blocks won’t hold together. That’s okay! Just add more water or more mix.
Mound up your soil mix in the middle of the tub. Take your soil block and press it into the mound, handle side up, so that the soil packs into the cells. Your cells probably won’t fill up entirely the first time you do this, or you might have soil fall out. That’s okay, just keep repeating this until your cells are fully packed in. One way you can make sure things are packed in tightly is by running the bottom of the soil blocker along the bottom of the tub, adding more soil, then running the blocker along the bottom of the tub again. I usually go until there’s a little bit of soil peaking out from the bottom of the soil blocker.
Your soil blocker has a handle on it that’s used to push the blocks out. Before I do this, though, I have the bottom of the blocker along the bottom of the tub, and I squeeze the handle down so that excess water can be removed from the blocks so my seeds don’t get waterlogged. This has the added benefit of making the blocks even more compacted so they hold their shape.
Now, take your soil blocker to the tray, lay the bottom flat along the tray, squeeze the handle and slowly lift the blocker up and away from the soil. You should have a perfect little block with a perfect divot for your seed. If it’s broken apart or some soil has stuck in your soil blocker, you are among friends, this happens all the time to me! I find the culprit is most often the moisture content of my mix, so try adding more water or more mix, depending on if it feels too dry or too wet.
Have some water on hand to rinse your soil blocker between blocks - it just keeps things clean and easier on the next round of blocks.
Once you’re all done, you can put your soil blocker stuff away. Put 1-3 seeds in each soil block. Usually the divots are deep enough where you don’t need to press the seeds in, but I find larger seeds like beans and sunflowers do need a little pushin.
You can then cover over your seeds one of two ways: take a little extra soil mix and sprinkle on top, pressing in so there’s good soil contact for the seeds, or you can pinch the tops of the block to cover over the beds. I imagine this method like I’m sealing up little dumplings.
Give your soil blocks another quick watering, put the tray in a sunny place and wait for your seeds to emerge!!
There’s lots of ways to tell whether your seedlings are ready to transplant, but that’s for next issue.
mom’s gardening adventures on the internet
In the last issue of field notes, y’all met my mother who found a YouTube video of maple syrup tapping and said, “You know what can help me do this? Temu.” Update from that adventure is that I did collect about 5 gallons of sap from the Temu taps and made roughly half a cup of syrup. It was delicious.
She’s at it again for this issue, where she sent me 12 wooden dowels wrapped in copper wire. What are 12 wooden dowels wrapped in copper wire for, I hear you asking? I don’t know, or at least I didn’t until my mom said the words “electroculture.”
Electroculture is the idea that you can infuse your garden and plants with atmospheric electricity and cause them to produce more and better. There are no large-scale studies that suggest it does what it claims it does. In fact, it has kind of a dark history. After some digging, I found that it originally arose out of the same movement to use electrical currents in the human body to cure illness (i.e. electroshock therapy). The late 19th century was full of scientific “exploration” masquerading as spectacle, from Christiaan Huygens’s magic lantern that gave us the microscope lens to Joseph Faber’s Euphonia, who gave us the first automaton.
My mom doesn’t know about electroculture’s relationship to EST, so I don’t hold it against her. She also doesn’t know that there’s not a whole lot of scientific evidence for electroculture. At my community college, a student group ran a study on electroculture in the school farm, and the results weren’t great. But my mom believes in magic; she learned photography so she could weave light into image. And while I try to keep my green thumb away from some of the crunchier aspects of gardening and small-scale agriculture, I like that she shares this part of herself with me.
hauling water and other stories
The trouble with water is that Home Farm doesn’t have it. There are 17 acres of Georgeville red clay, and while clay soil tends to have amazing mineral benefits for plants, it struggles to absorb water efficiently. We’ve tried working around this by working in compost and organic matter into our beds, but North Carolina spring is hot and this spring has been dry and so my daily treks out to Home Farm have involved carrying upwards of 40 gallons of water out to the fields to water the plants.
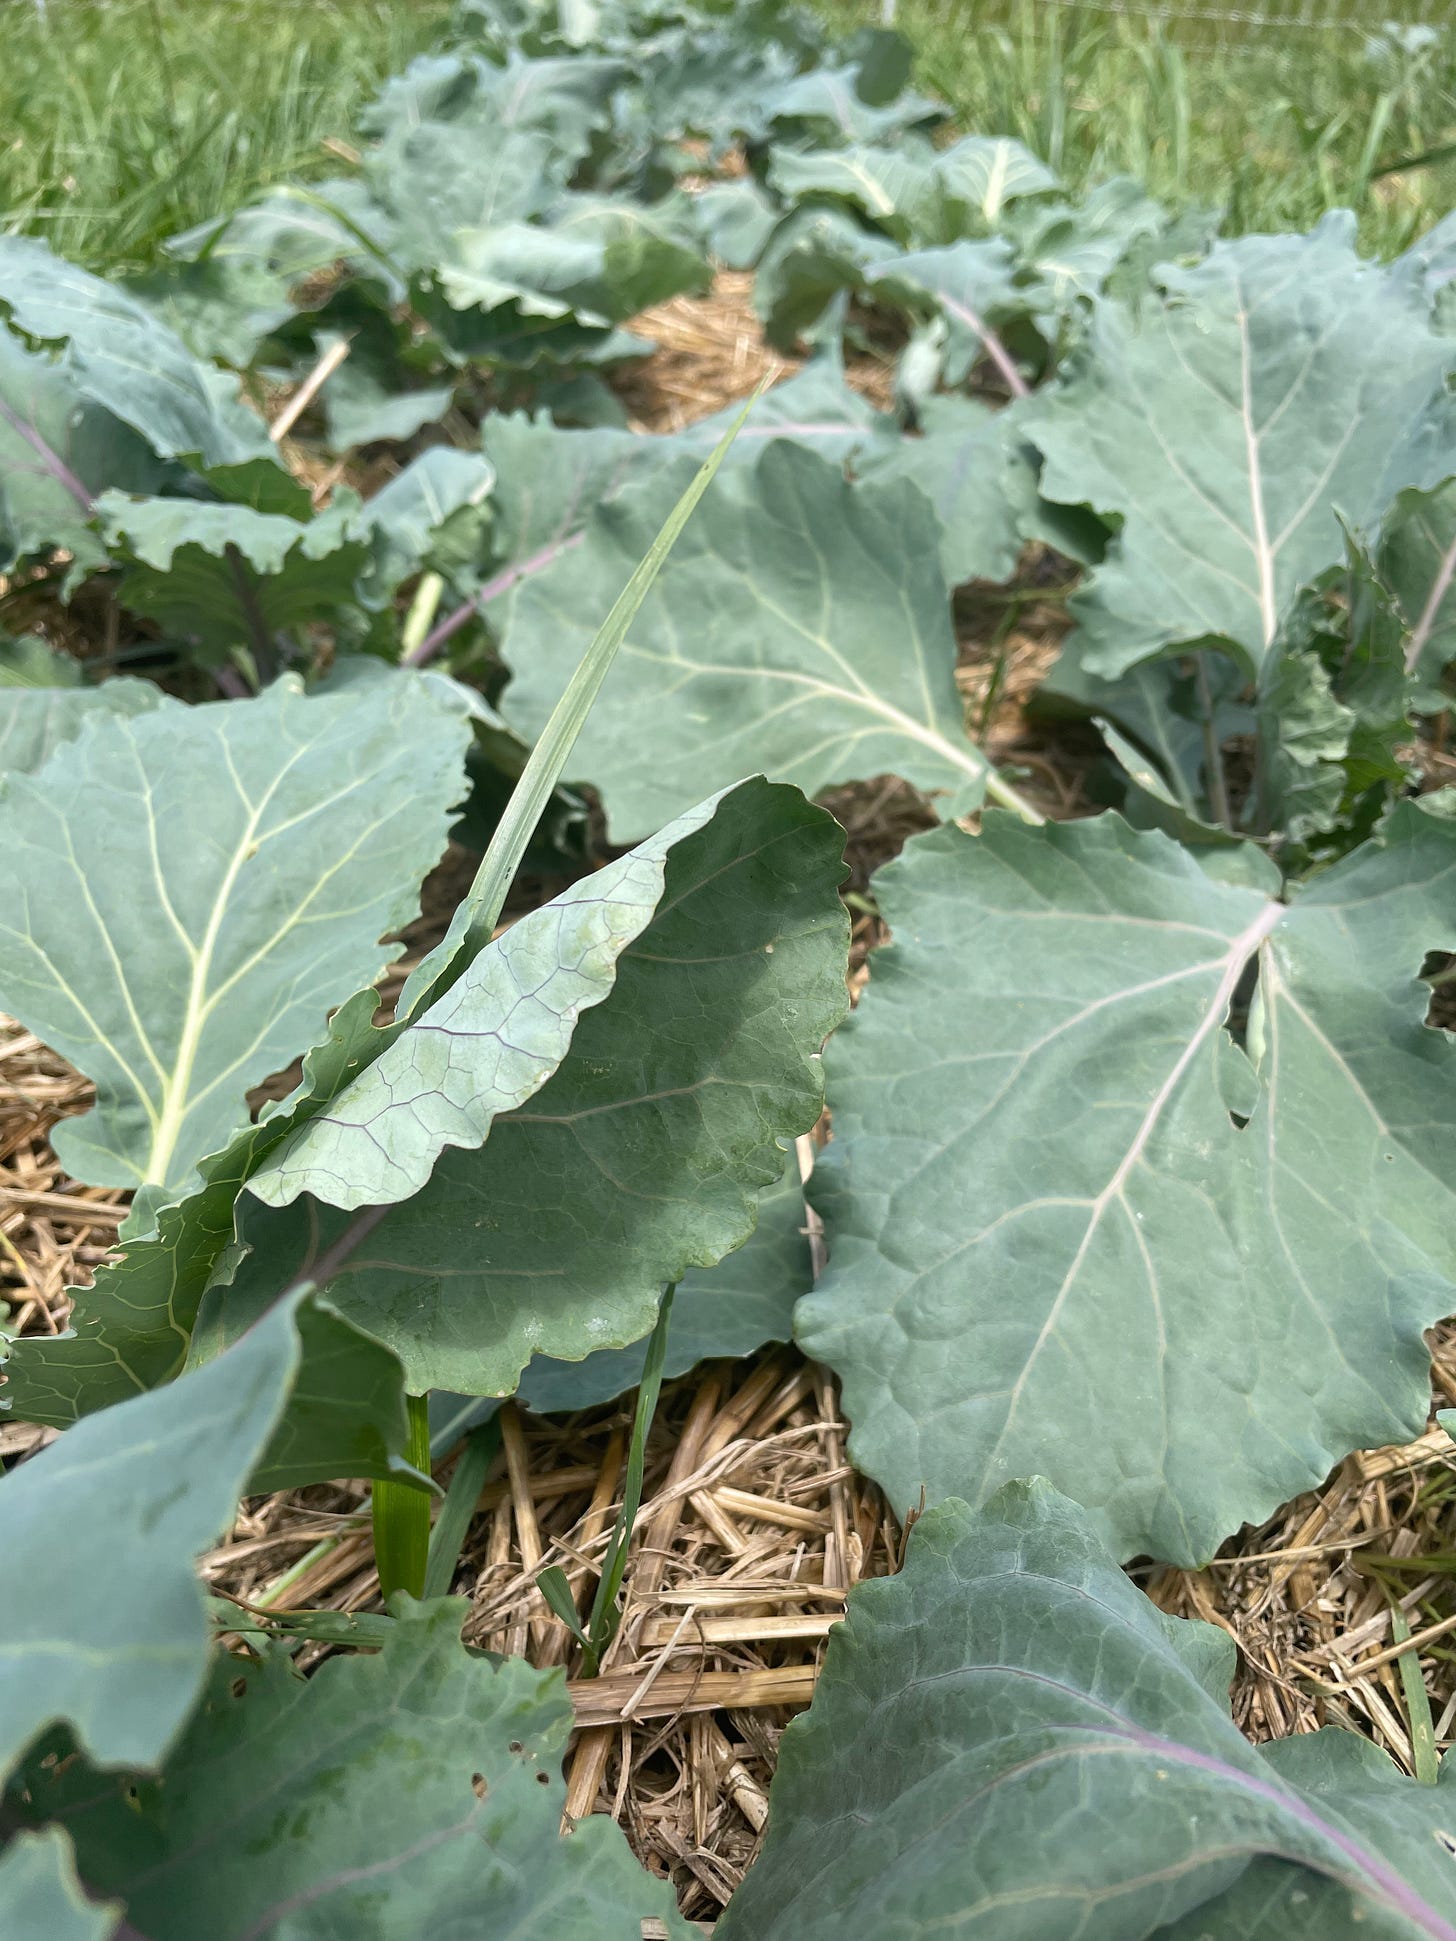
For a while now, I’ve been studying permaculture design, which involves mimicking the natural environment so that the farm or garden is a closed-circuit system. Farm inputs come from farm outputs. One of the first things you learn is that the best place to store water is not in a well or even a rain barrel, but in the soil itself. I’ve seen that principle come to life this year, where the compost we worked in drains and holds water perfectly. The hay mulch we laid over the beds keeps the soil moist and cool, and even though it brings in slugs, we have plenty of birds that love them as a source of food.
Still, water is a limited resource, and I’ve been trying to figure out how we’re going to avoid drilling another well. My plan right now involves a complex system where my rain barrels are all lined up along the greenhouse and each has an overflow valve so that when one reaches capacity, it flows into the other. So far I’m still carrying 40 gallons of water, and these rain barrels get expensive.
The other problem we run across is how to get water directly to the plants from the barrel system. In a functional (lol) farm system, we would use irrigation lines to send water from the source directly to the field. Without a well and a electric-powered well pump, though, we have to rely on gravity to move the water, and I haven’t quite figured out the best way to do it.
In the meantime, I take my little watering can and go to each plant and say, “Here’s your water, ya needy bastard.” Just kidding, we talk nice to the lettuce and the chard. The collards can stand a bit of ribbing (womp womp).
Plant science comes to a close
This week was my last class in Plant Science, and it’s been a really lovely semester learning about botany and growth patterns and all kinds of things. The latter half of the semester has been spent conducting an on-farm research project with a group of students, and my team designed a study looking at compost amendments for kale and radish. We had a control (with no added amendments), the compost the farm normally gets from the county, and a biodynamic mix.
Preliminary results are that the biodynamic mix had the best results for the kale, while the local compost produced larger radishes. I know from previous gardening experience that radish needs water more than it needs nitrogen, so this holds up, given the local compost is pretty cured. But I didn’t really expect the biodynamic mix to do as well. Biodynamic farming is kind of a woo-woo field of agriculture developed by the guy who started Waldorf schools (he had no training in agriculture whatsoever). You do things like plant by the zodiac and bury cow horns in the dirt, not really my thing.
Regardless of the results, it felt really good to do some applied science again, and I started thinking up all kinds of research questions I’d like to explore for Home Farm. Things like:
What effect does different levels of weeding have on plant growth? I would have one plot where I weed everything, one plot where I weed nothing, and one plot where I weed 50% of everything. The idea here would be to test what is the least amount of energy I would need to put into weeding to get the highest possible yield.
Does inoculating wood chip pathways with mushroom mycelium promote plant health? Here I would look at signs of plant health like disease, as opposed to looking specifically at yield.
What impact does a hedgerow have on a field? Hedgerows have historically been used to create a windbreak for fields, something we desperately need since we’re growing in a very large pasture. They also provide habitat to birds and other predators, so I would look at the effects on beneficial insect vs. pest populations.
plants are queer I will not be taking questions
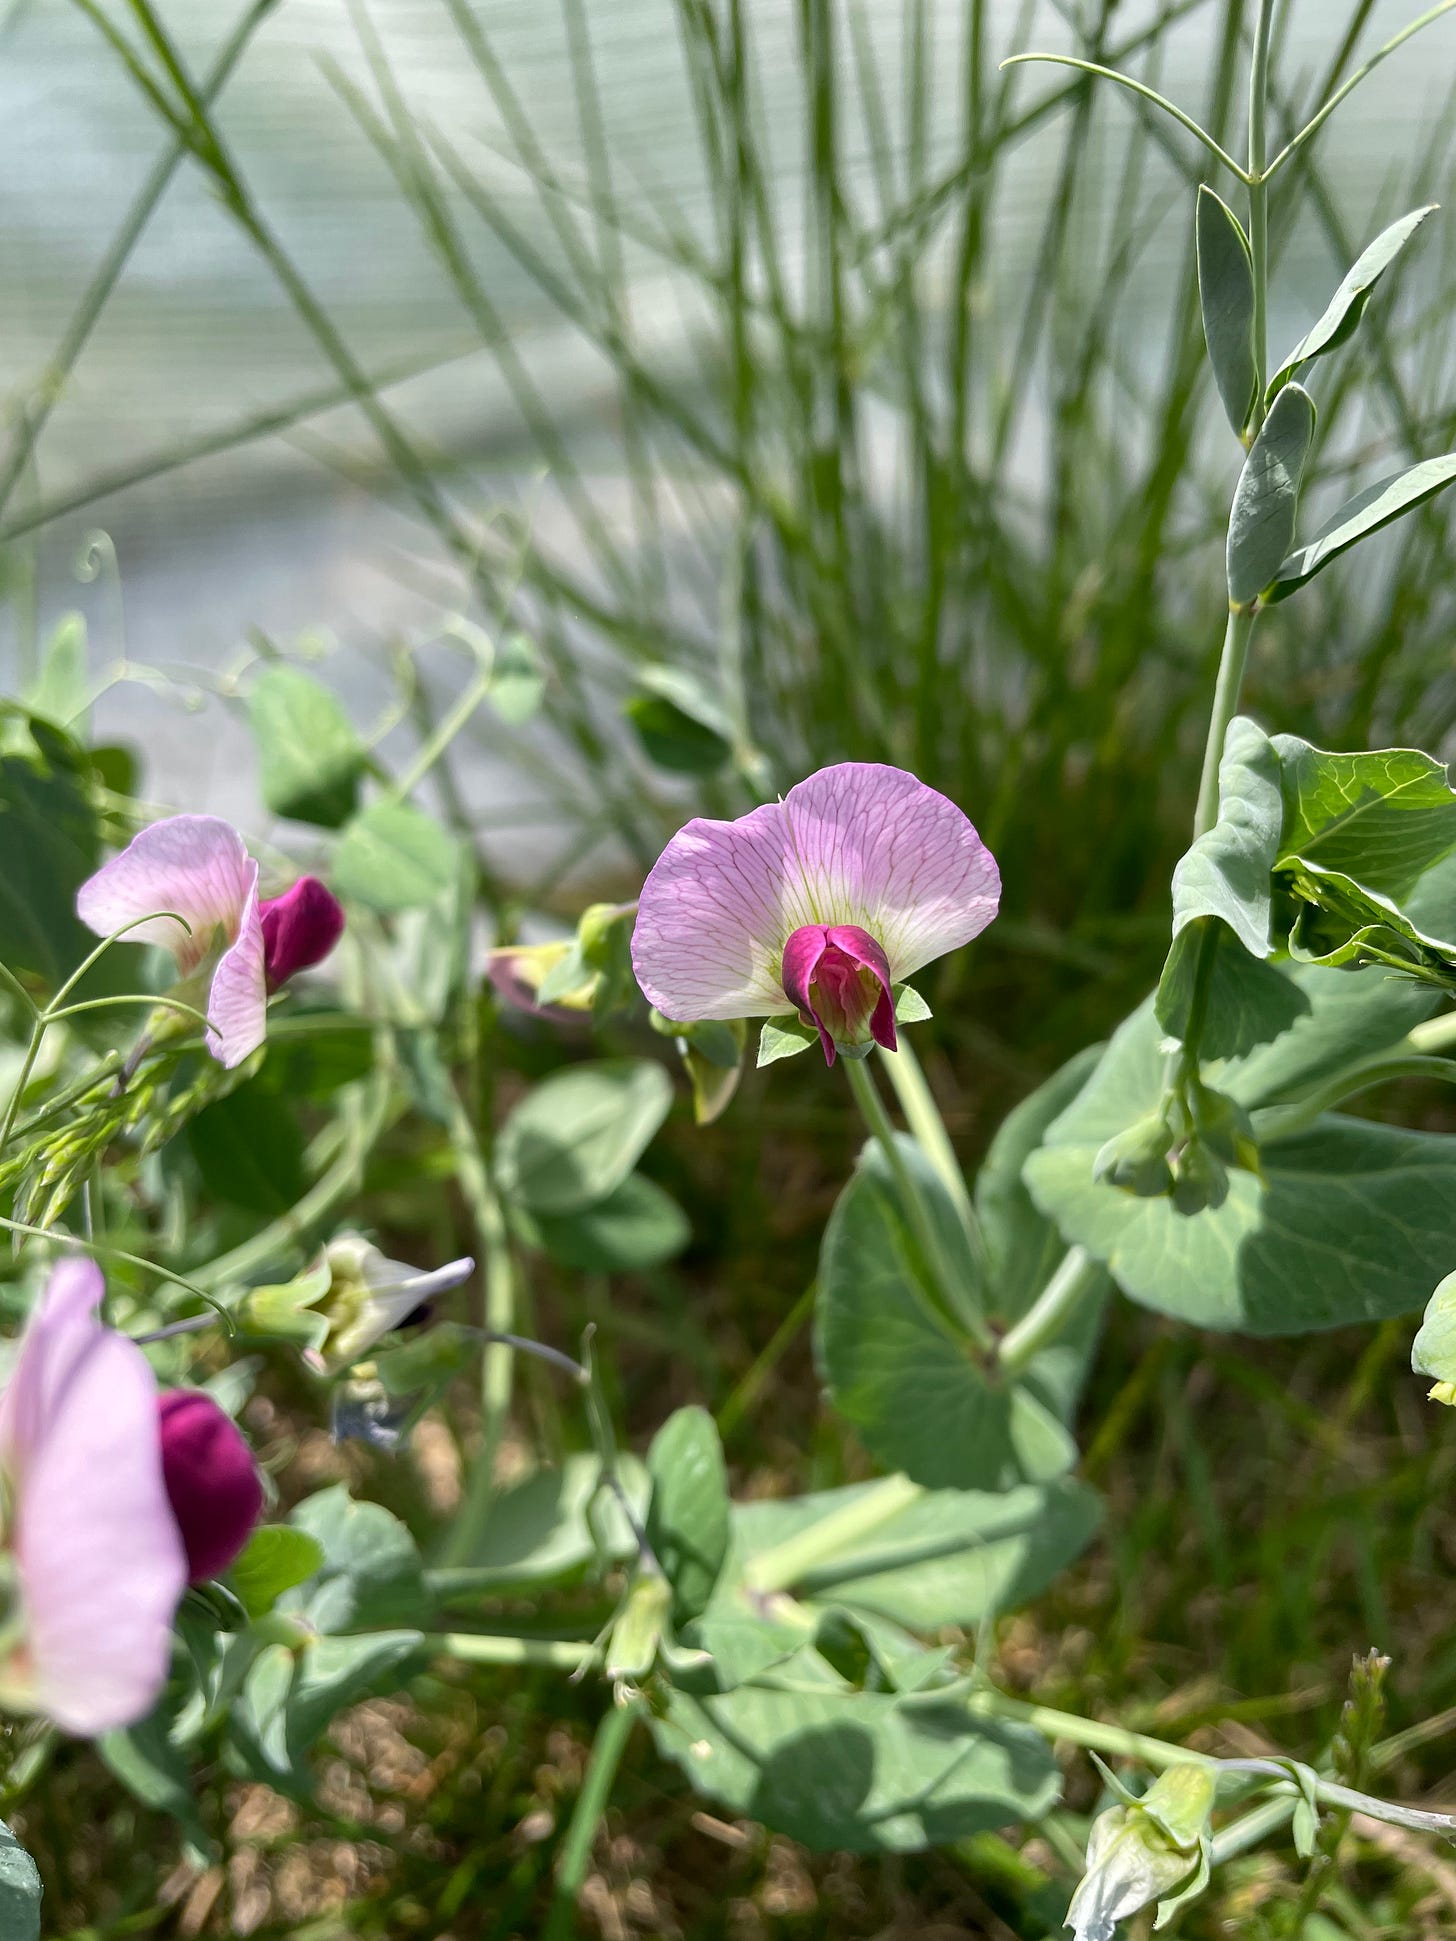
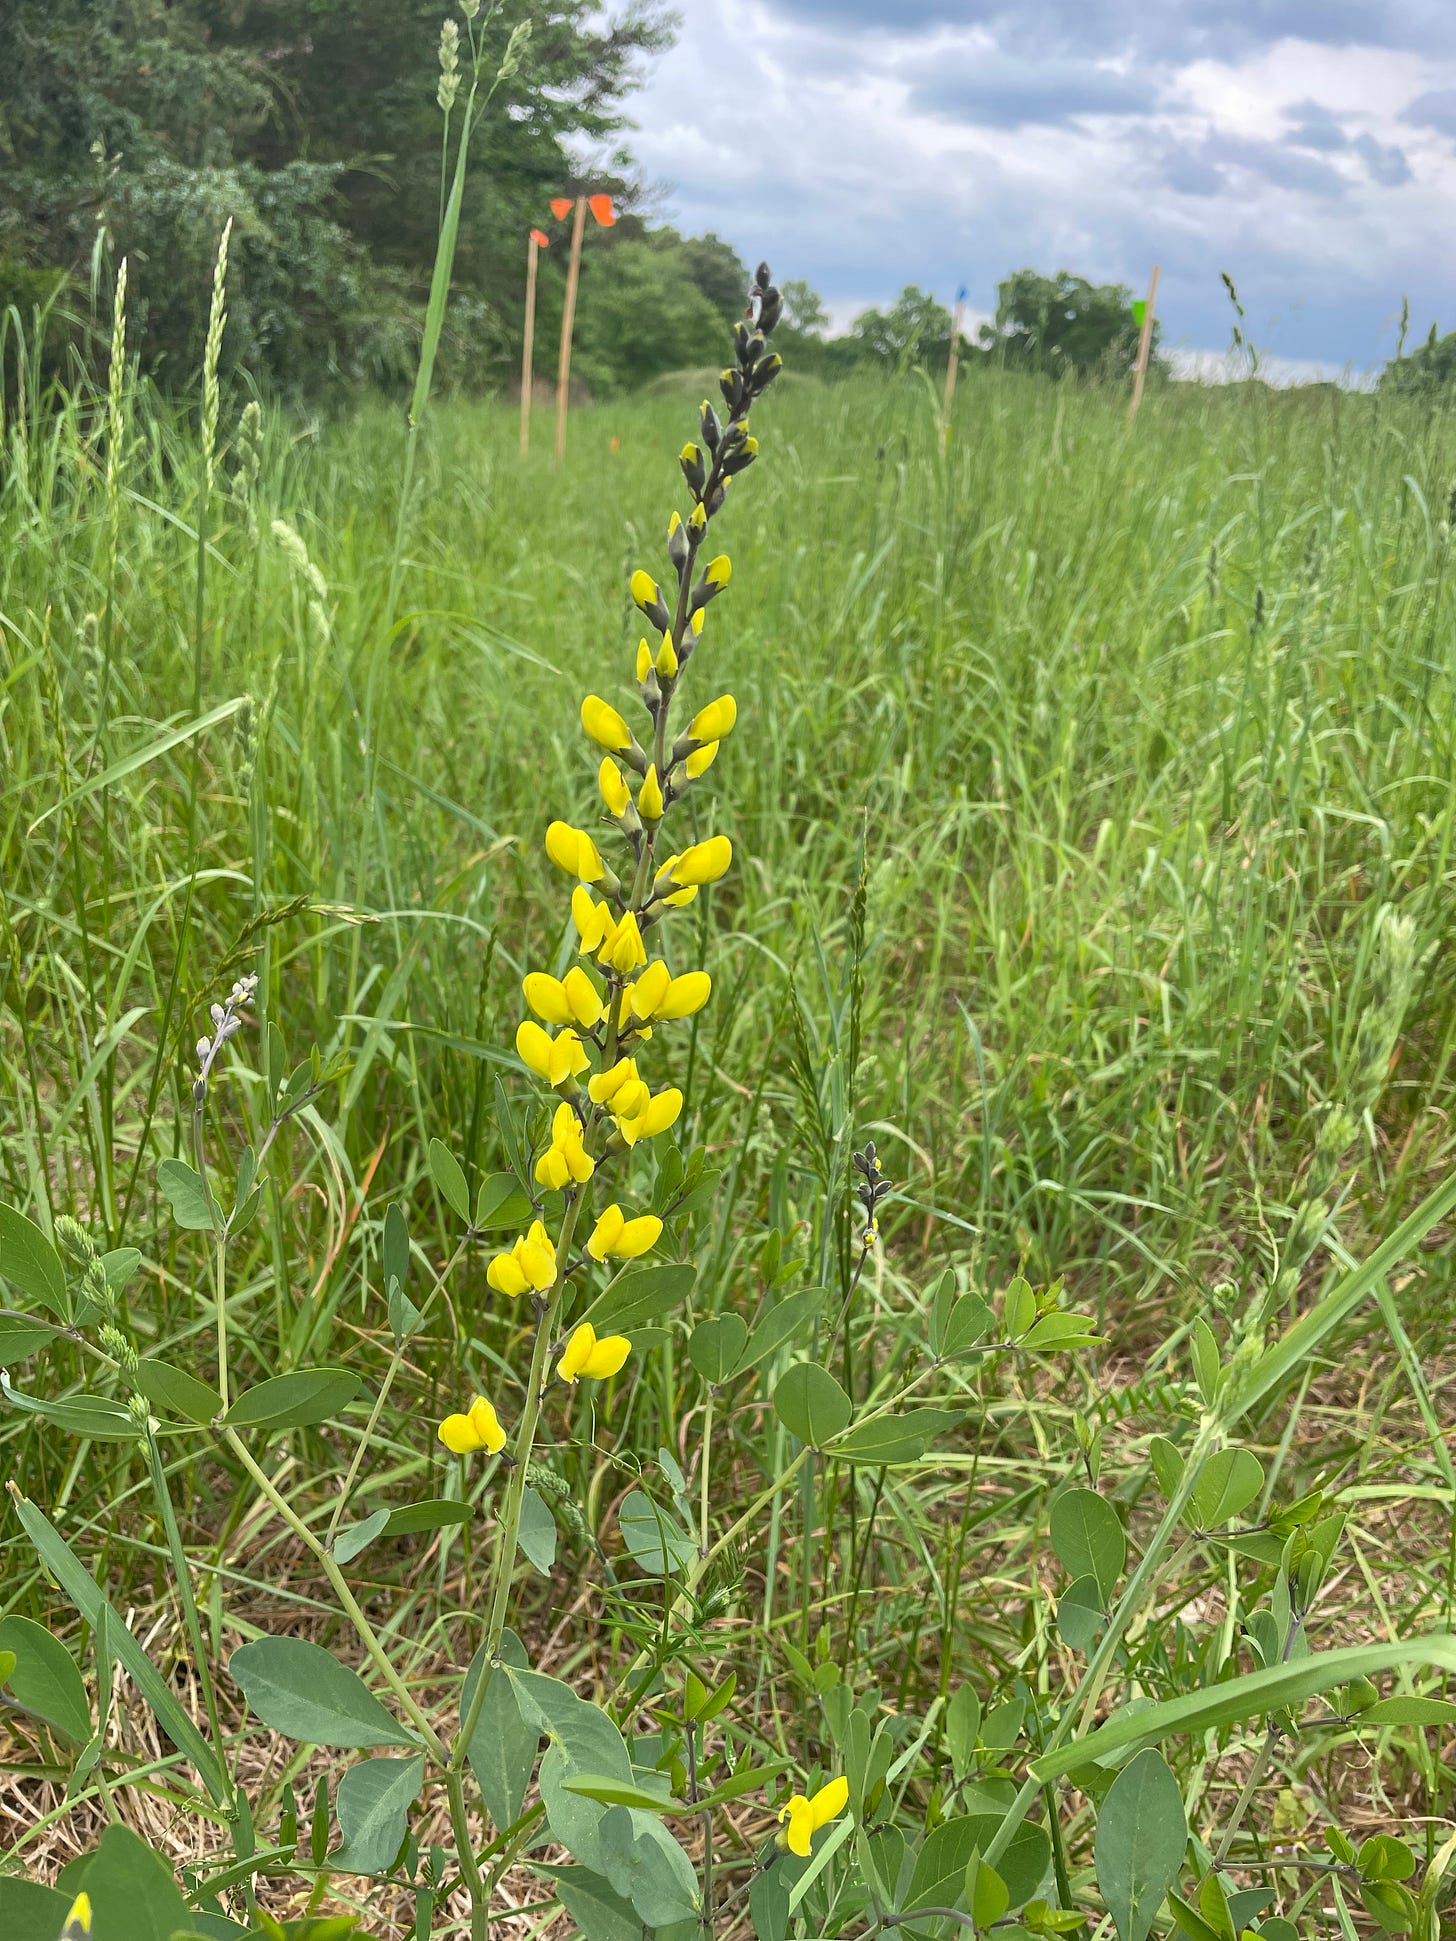
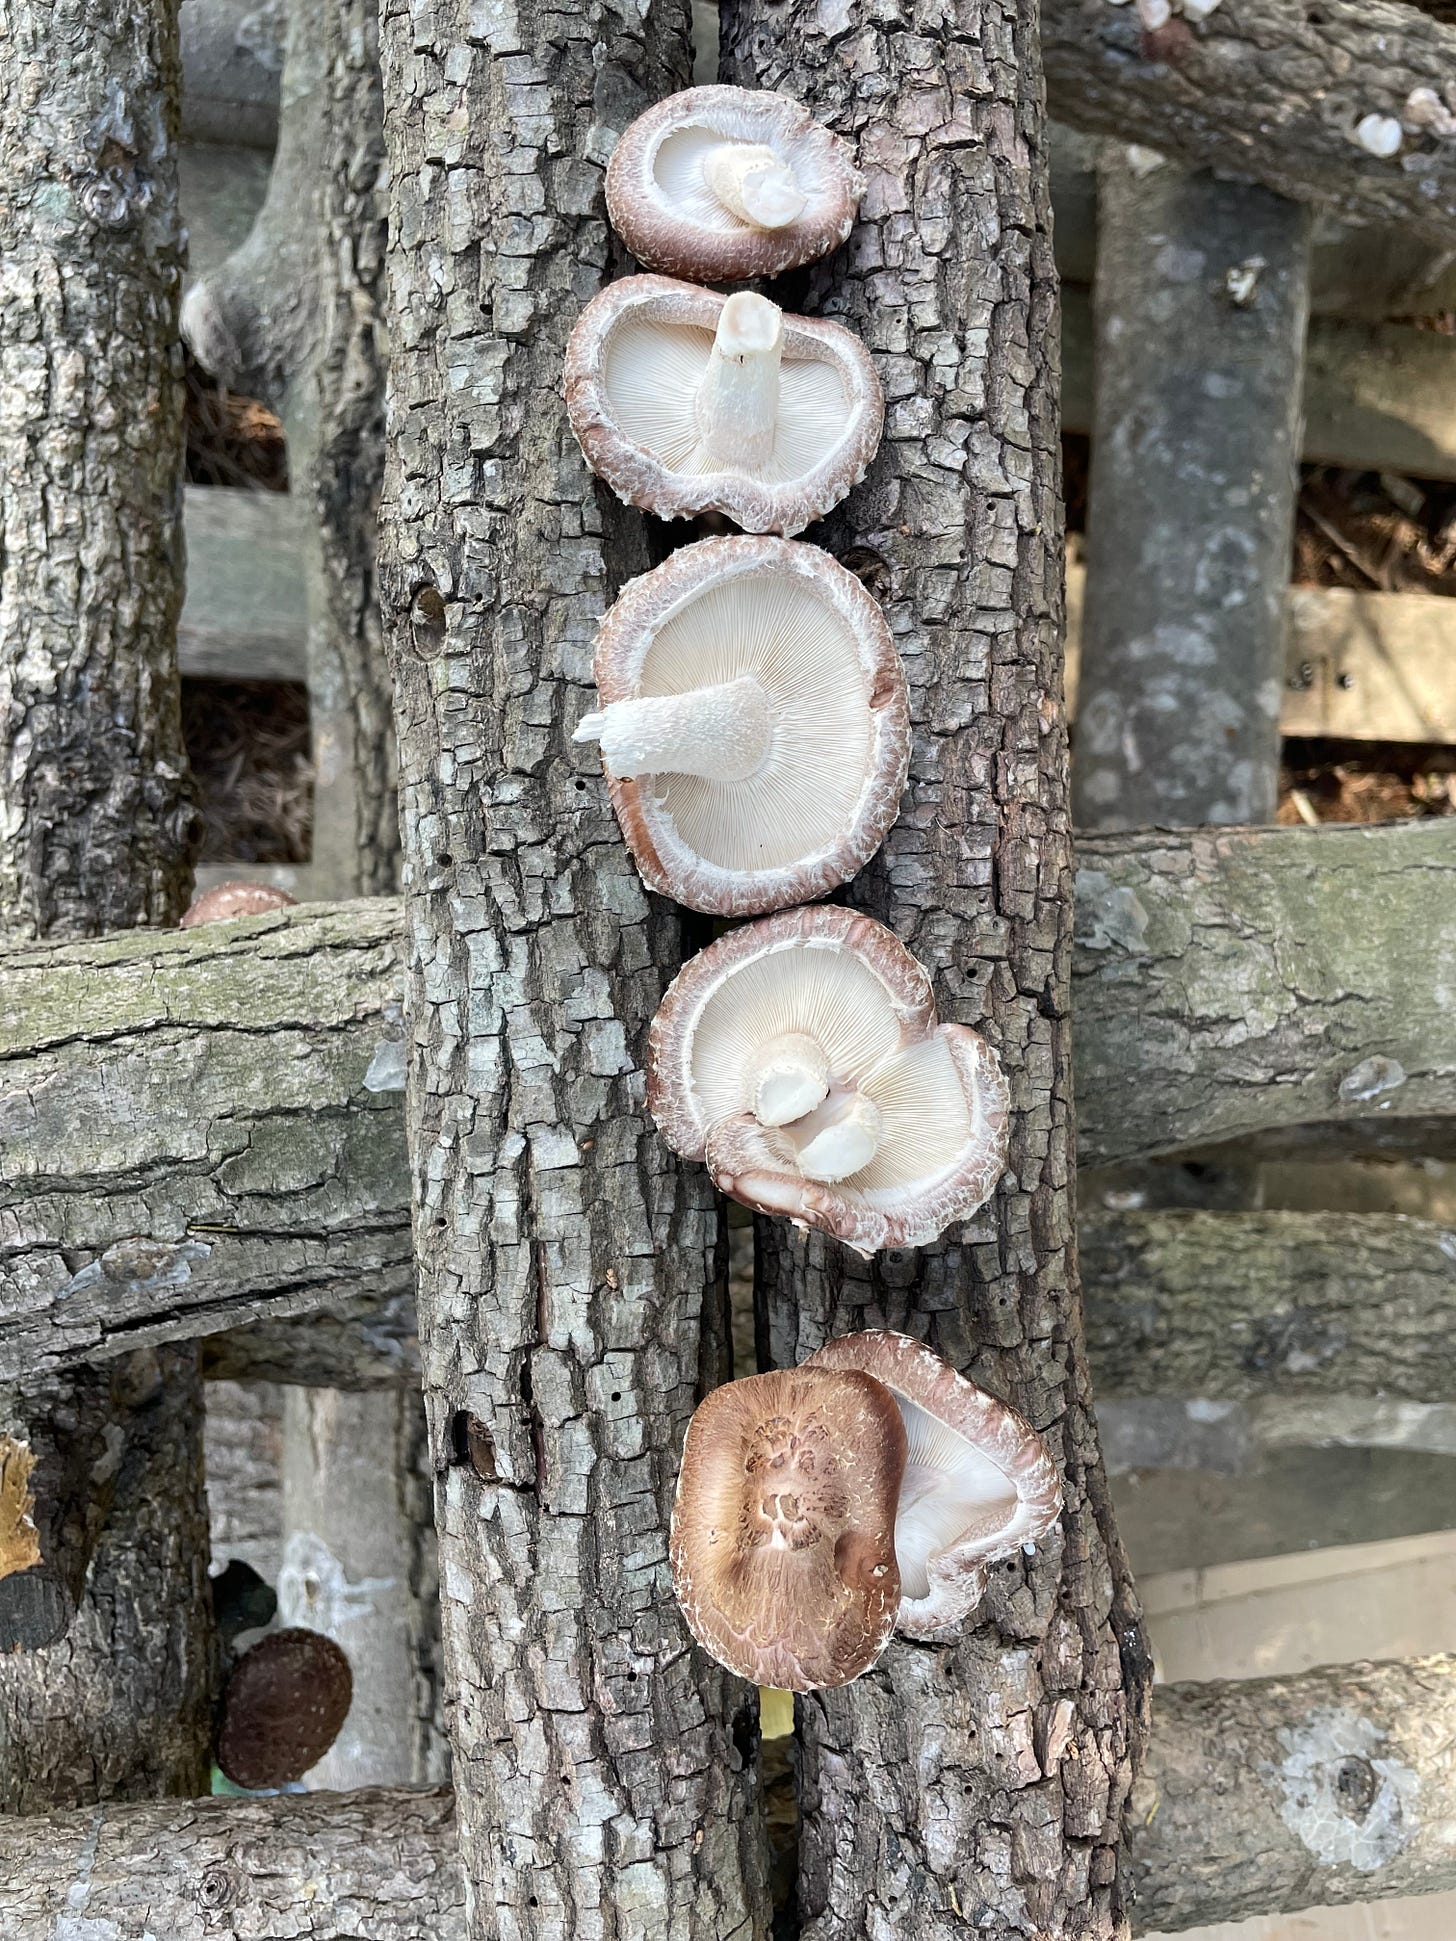
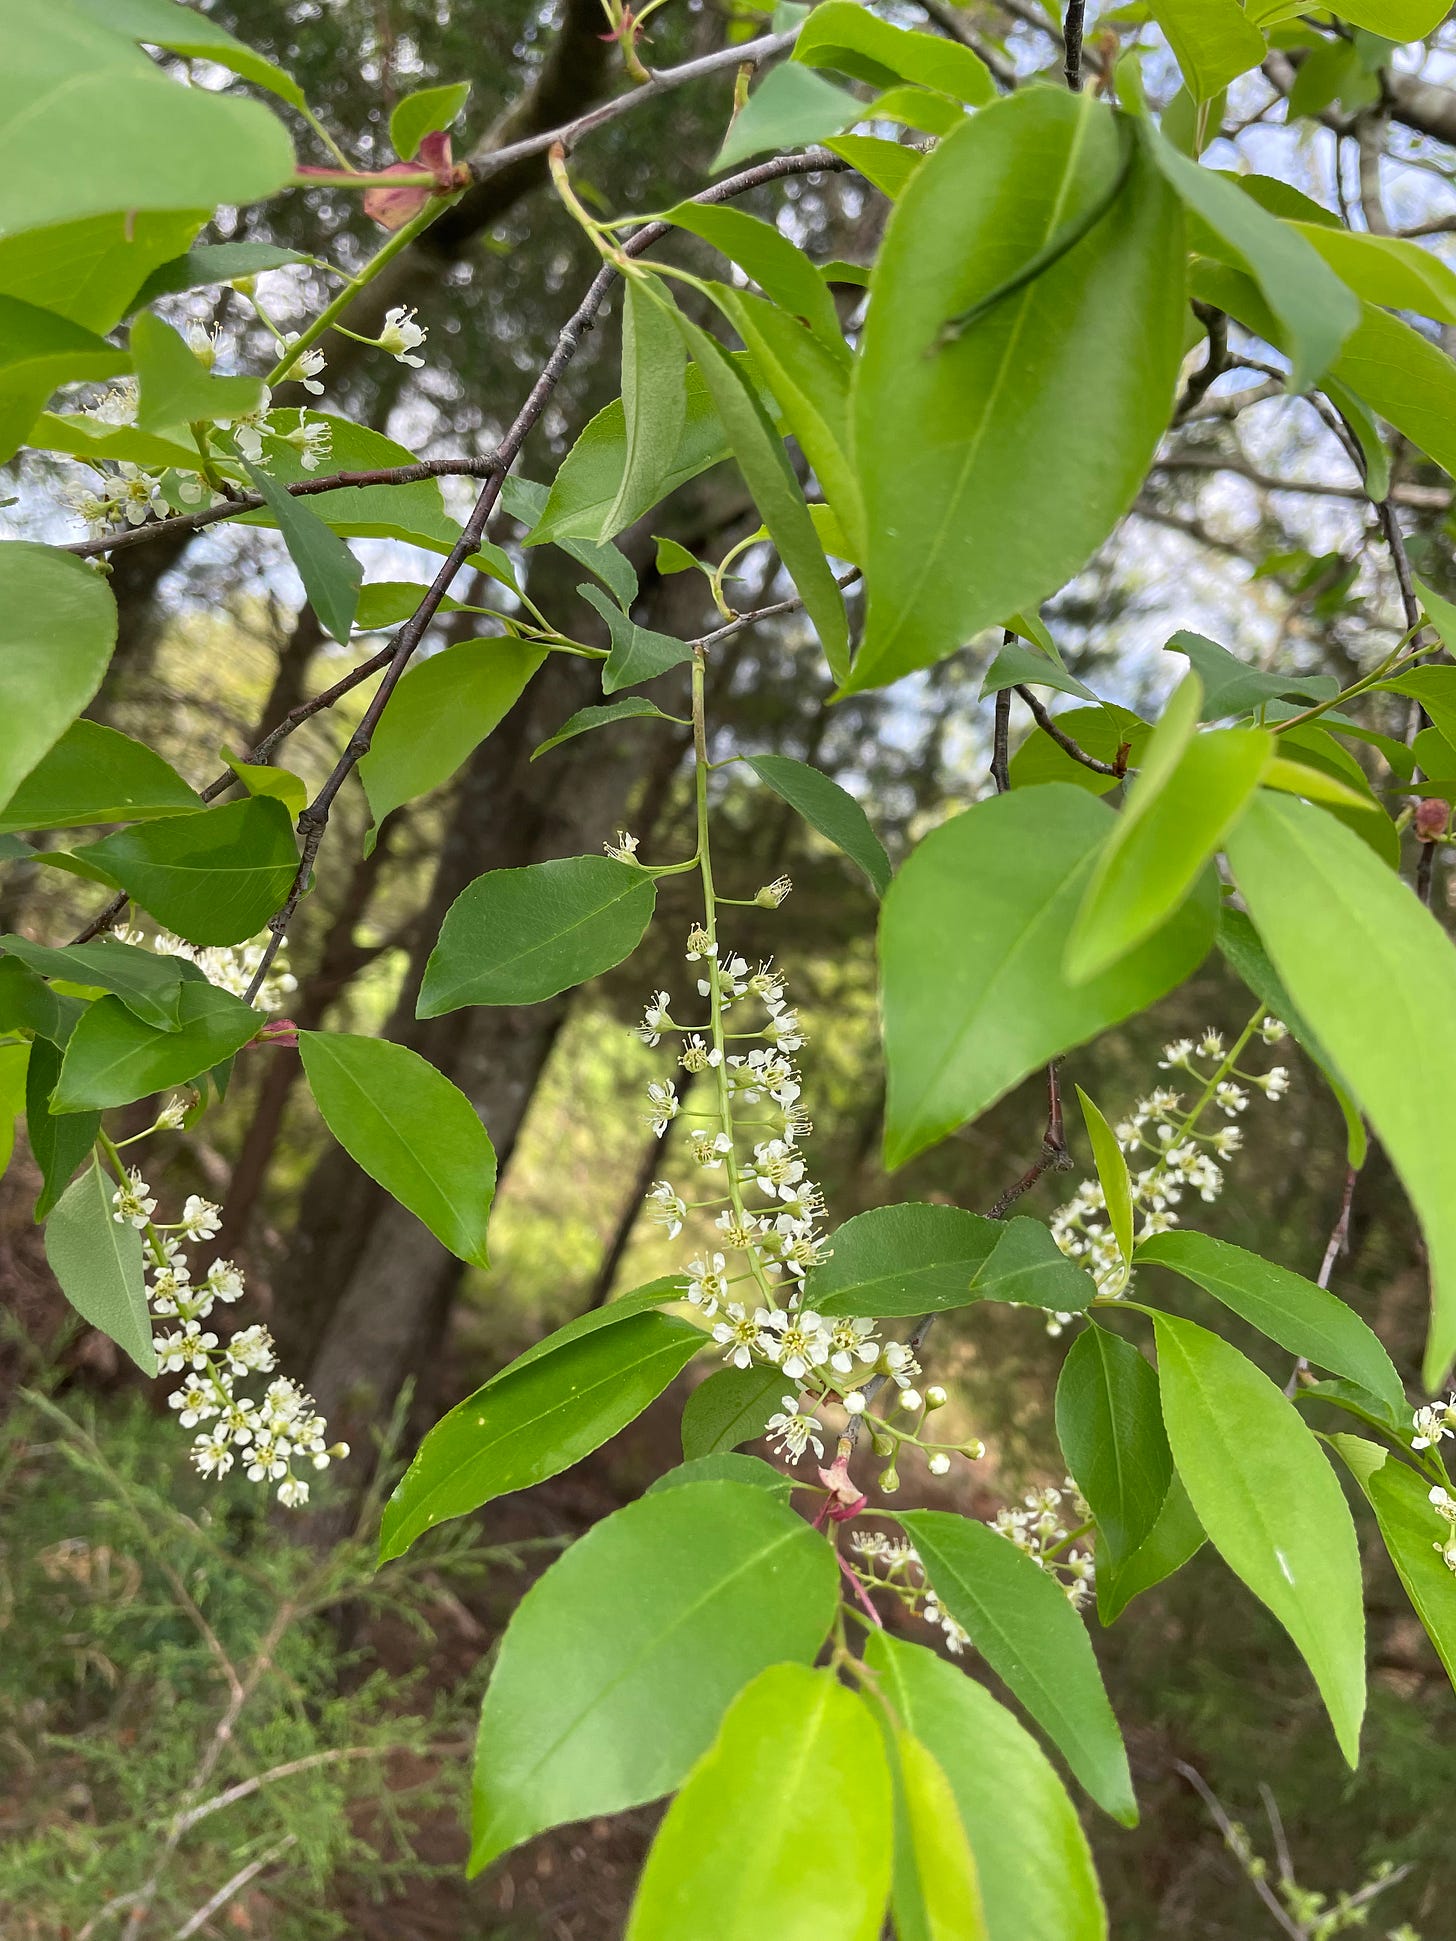
Nature is where I first understood myself as nonbinary - imminent, always yes/and, infinite. To end this issue of field notes, here are some pictures of things growing out at Home Farm that were particularly affirming.
Happy spring, y’all.


